
SUMART | NEWS & HOW-TO
How to Install a BCD 104 Chainring with SUMART CBT-2 and FLEXI 9
A practical guide to a clean, secure chainring installation using two compact SUMART tools.
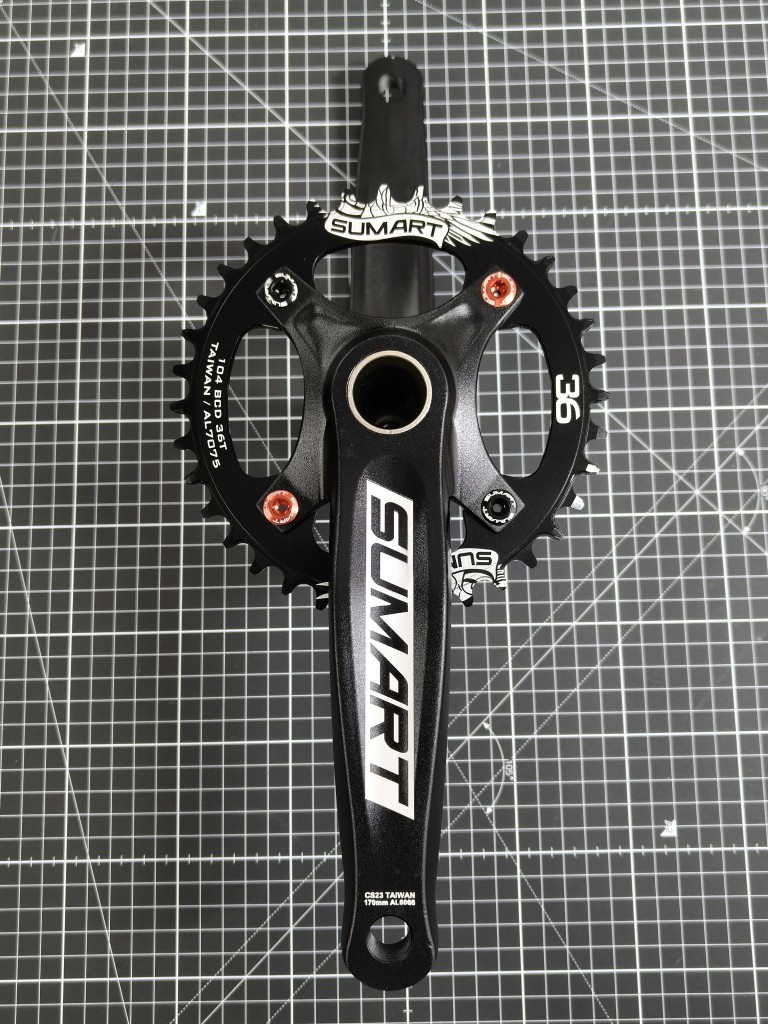
SUMART 104 BCD, 36T chainring mounted on the crankset.
What is BCD 104?
BCD stands for Bolt Circle Diameter. A 104 BCD chainring uses four mounting holes arranged on a 104 mm bolt circle. The example shown here is a SUMART 36-tooth chainring. Before starting, confirm the chainring, crank spider, bolt length and drivetrain are compatible.
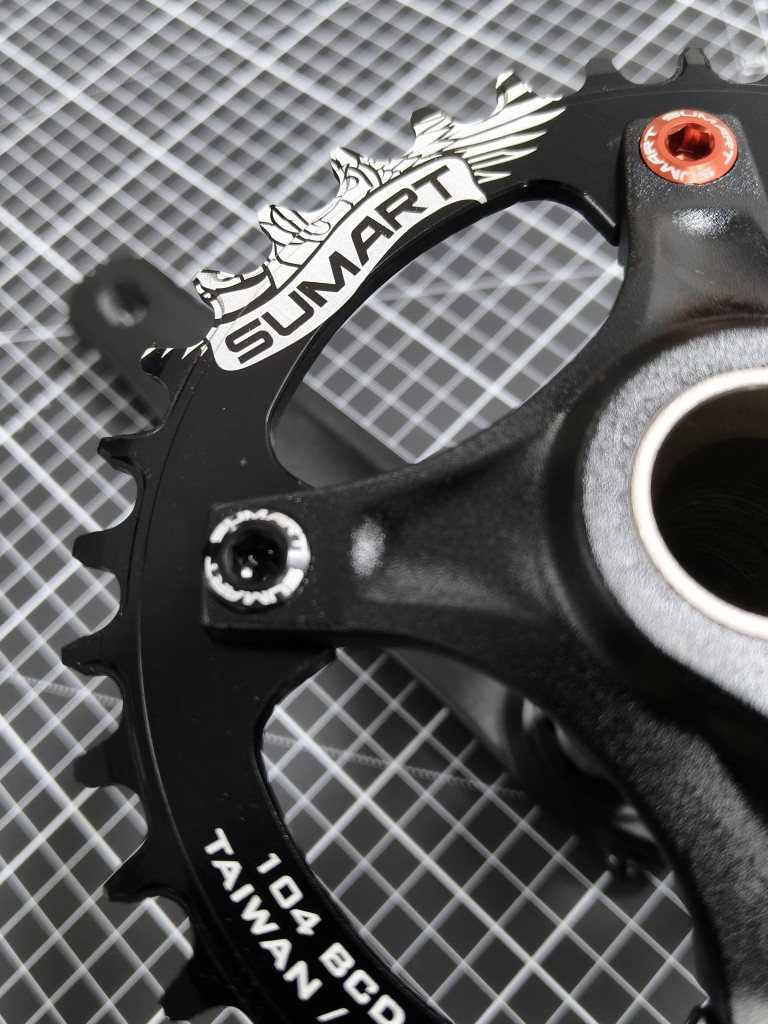
Close-up: 104 BCD and 36T markings on the chainring.
Tools and parts you need
SUMART CBT-2 Chainring Bolt Tool — holds the slotted chainring nut to prevent rotation. Its blue PVC-coated handle is easy to grip; it also includes 8 mm and 10 mm spanner functions.
SUMART FLEXI 9 Swivel Ratchet — a compact 90-tooth ratchet with a 240° swivel head. Use the correctly sized hex bit for your bolts. You will also need a suitable torque wrench for final tightening.
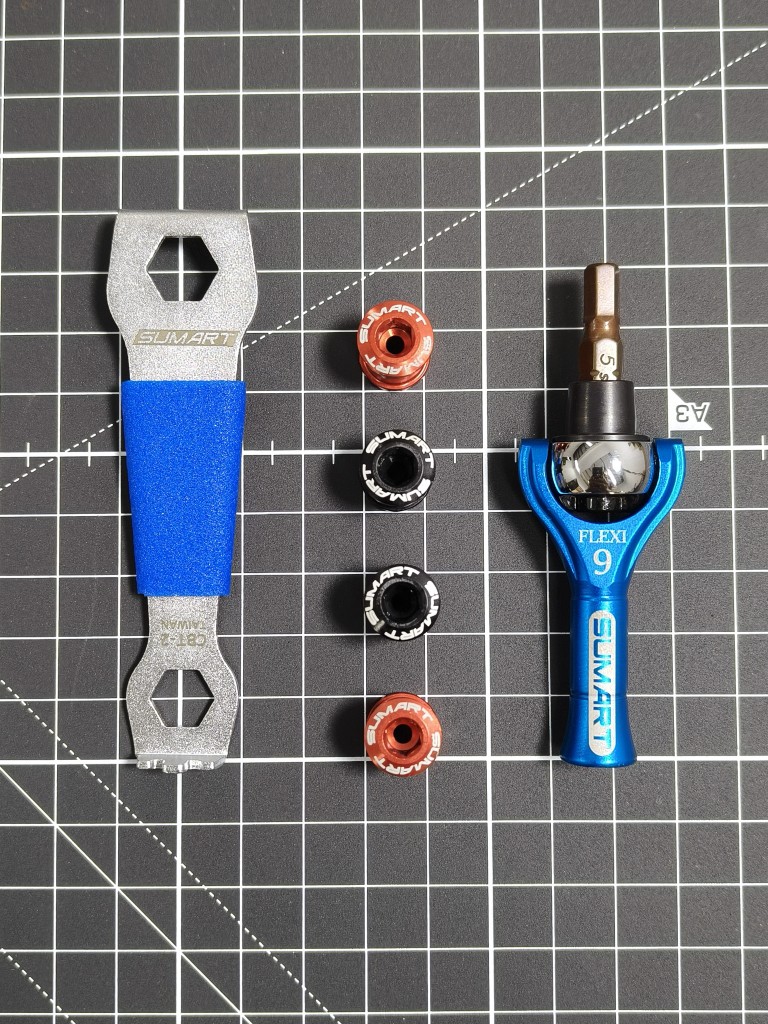
SUMART CBT-2, four chainring bolts and FLEXI 9.
Step-by-step installation
Step 1 — Check and position the chainring
Clean the crank spider and chainring contact surfaces. Position the compatible 104 BCD chainring with its four mounting holes aligned. Follow the chainring maker’s orientation guidance.
Check the chainring orientation and mounting points.
Step 2 — Insert and start the bolts
Fit the correct chainring bolts and nuts. Start each bolt by hand so the threads engage smoothly. Leave all four slightly loose until the chainring is seated.
The rear side of the chainring shows the slotted chainring nut.
Step 3 — Hold the nut with CBT-2
Engage the CBT-2 with the slots on the back of the chainring nut. Hold the tool steady to stop the nut spinning while the bolt is turned from the other side.
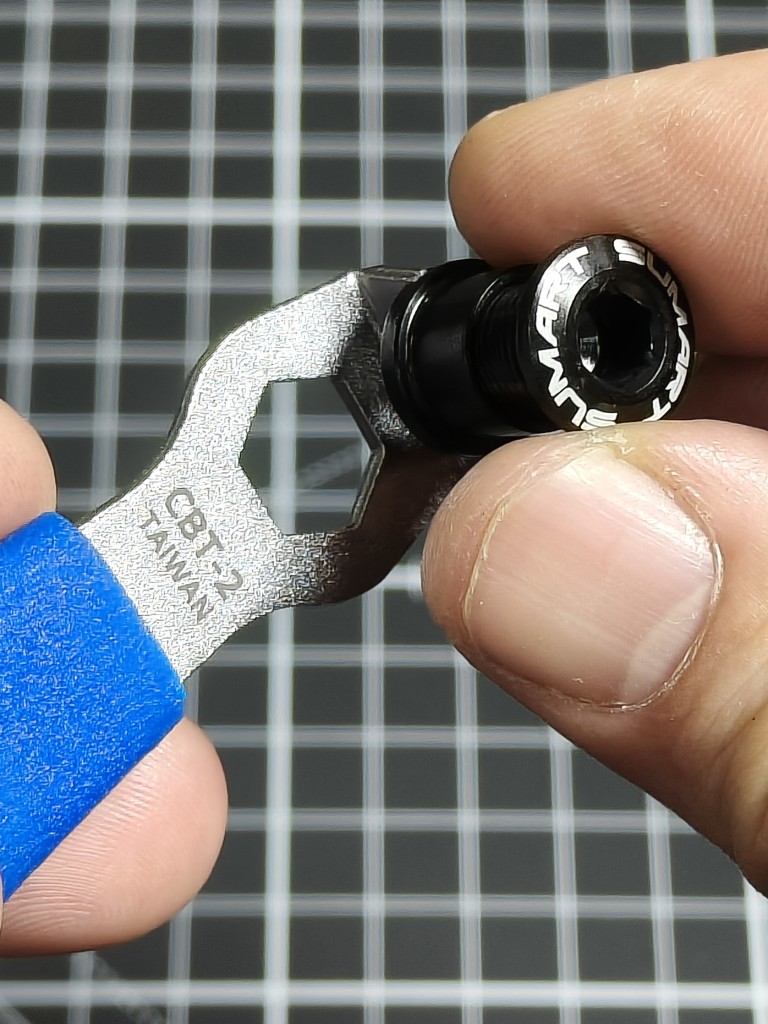
CBT-2 holds the chainring nut in place.
Step 4 — Turn the bolt with FLEXI 9
Choose the hex bit that fits the bolt head fully. Use FLEXI 9 to snug the bolt while the CBT-2 holds the nut. The compact swivel ratchet helps when access is limited.
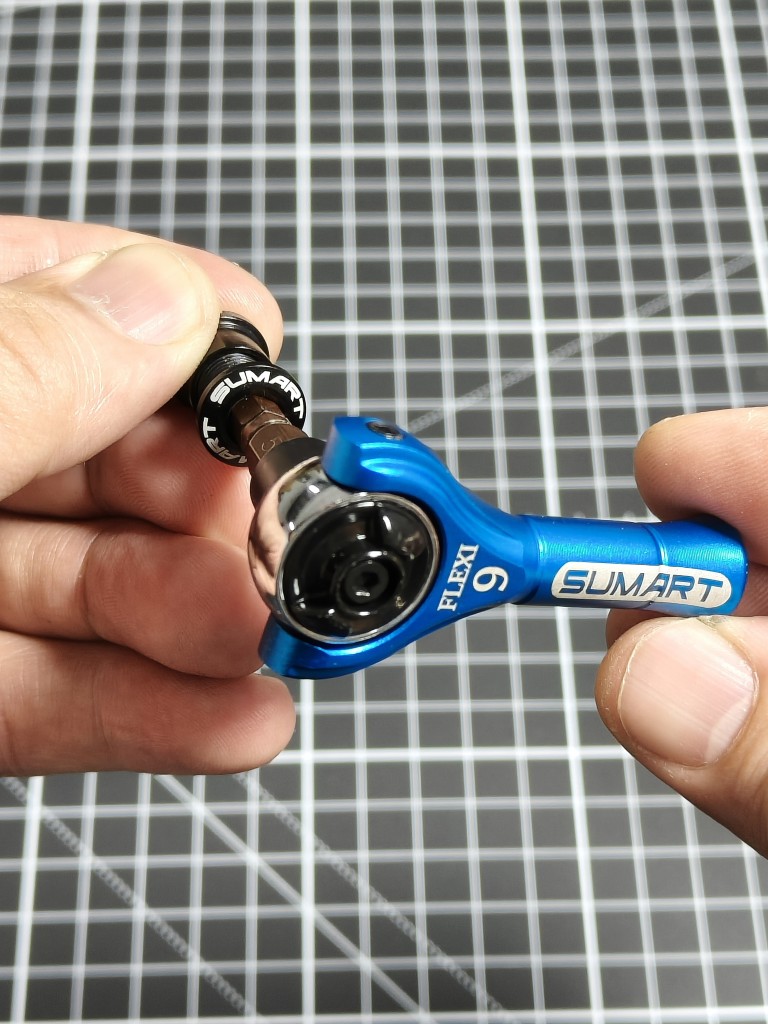
FLEXI 9 engages the bolt while the nut is held securely.
Step 5 — Tighten evenly and torque correctly
Snug the four bolts gradually in a cross pattern. For final tightening, use a calibrated torque wrench set to the bolt or crank manufacturer’s specified torque. FLEXI 9 is used for convenient installation, not as a torque-measuring tool.
Check all four bolts and the chainring seating.
Step 6 — Inspect before riding
Verify that the chainring sits flat, all bolts are correctly torqued, and the drivetrain turns freely without rubbing or wobble. Recheck according to the component manufacturer’s maintenance guidance.
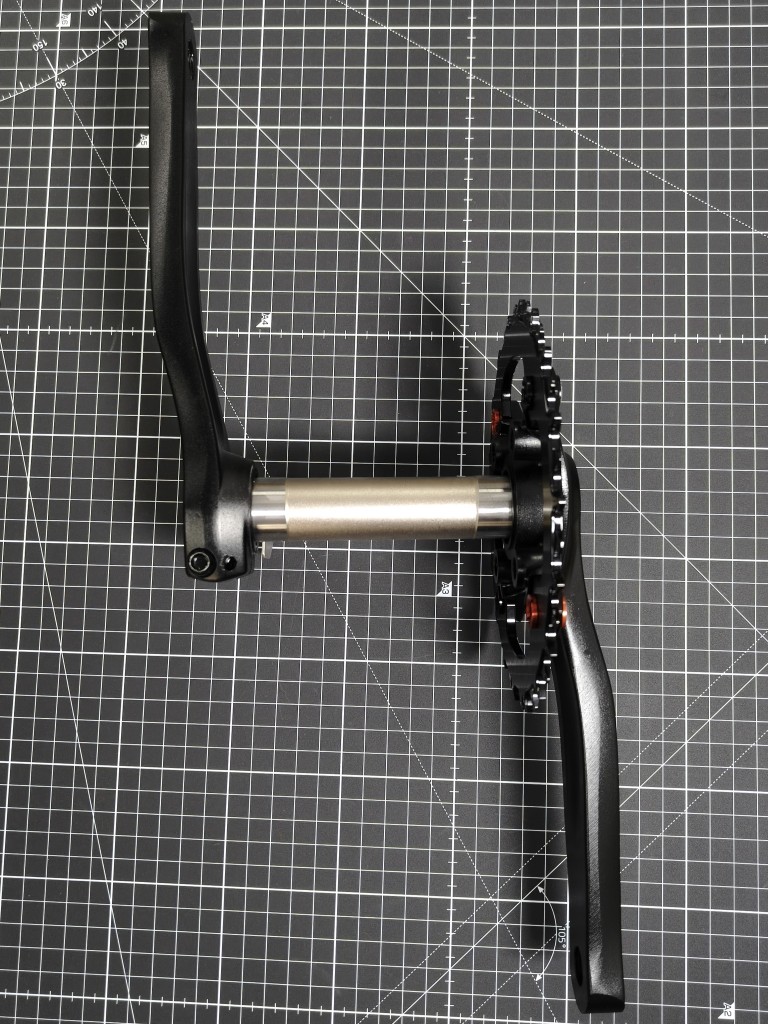
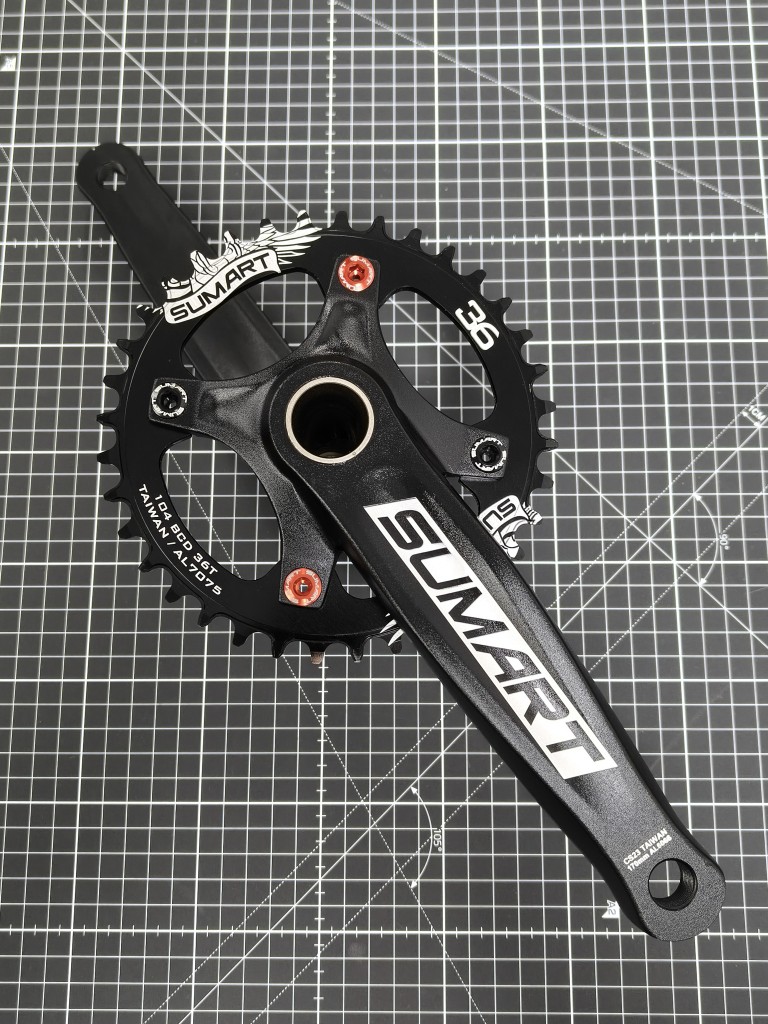
Completed crankset and chainring assembly — side view.
Why CBT-2 and FLEXI 9 work well together
CBT-2 holds the nut. FLEXI 9 turns the bolt. This simple pairing solves the common frustration of a chainring nut spinning during installation, while keeping the work controlled and convenient.
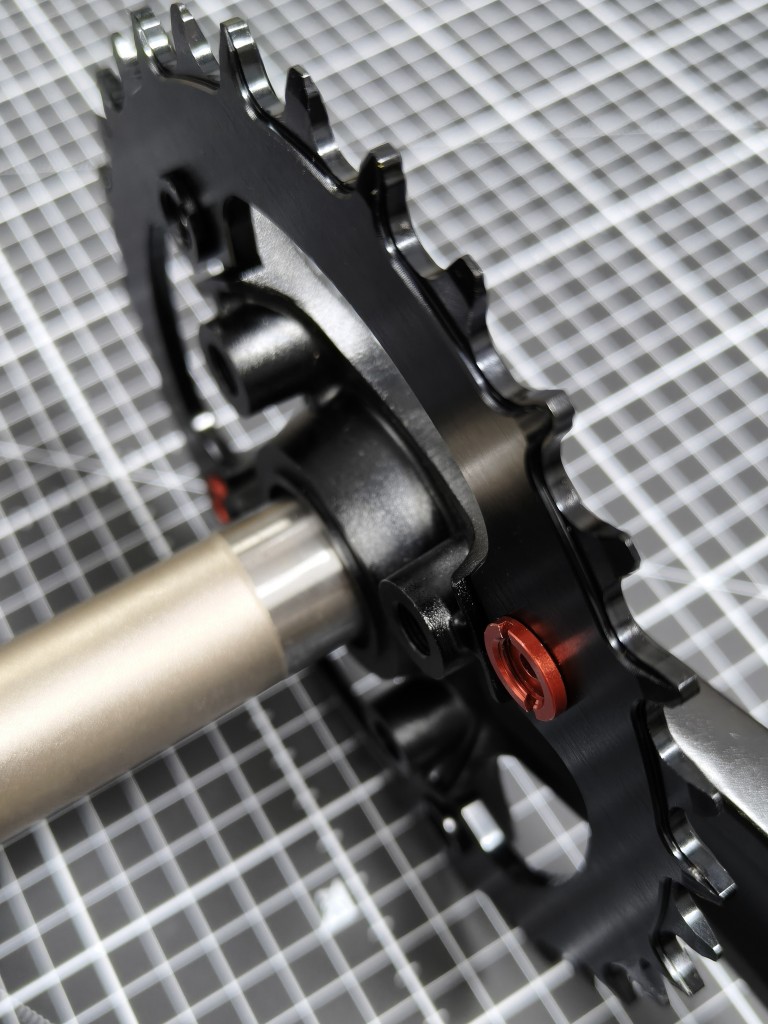
Detail of the installed chainring and bolts.
The best tool is when you need it, you have it.
Explore SUMART bicycle maintenance tools at www.sumart.bz